
Hey everyone, it’s Kate here! Today, I messed up a bit and accidentally didn’t hit record while I was creating the watercolor background for my doodles. But I still wanted to share them with you in case you wanted to relax and doodle along with me.
Grab some paper and a pen, and let’s get started! I sped up the recording a little, but I did the whole doodling process for three more sheets of paper this time. The theme this time was purple and yellow.
Here’s what I did:
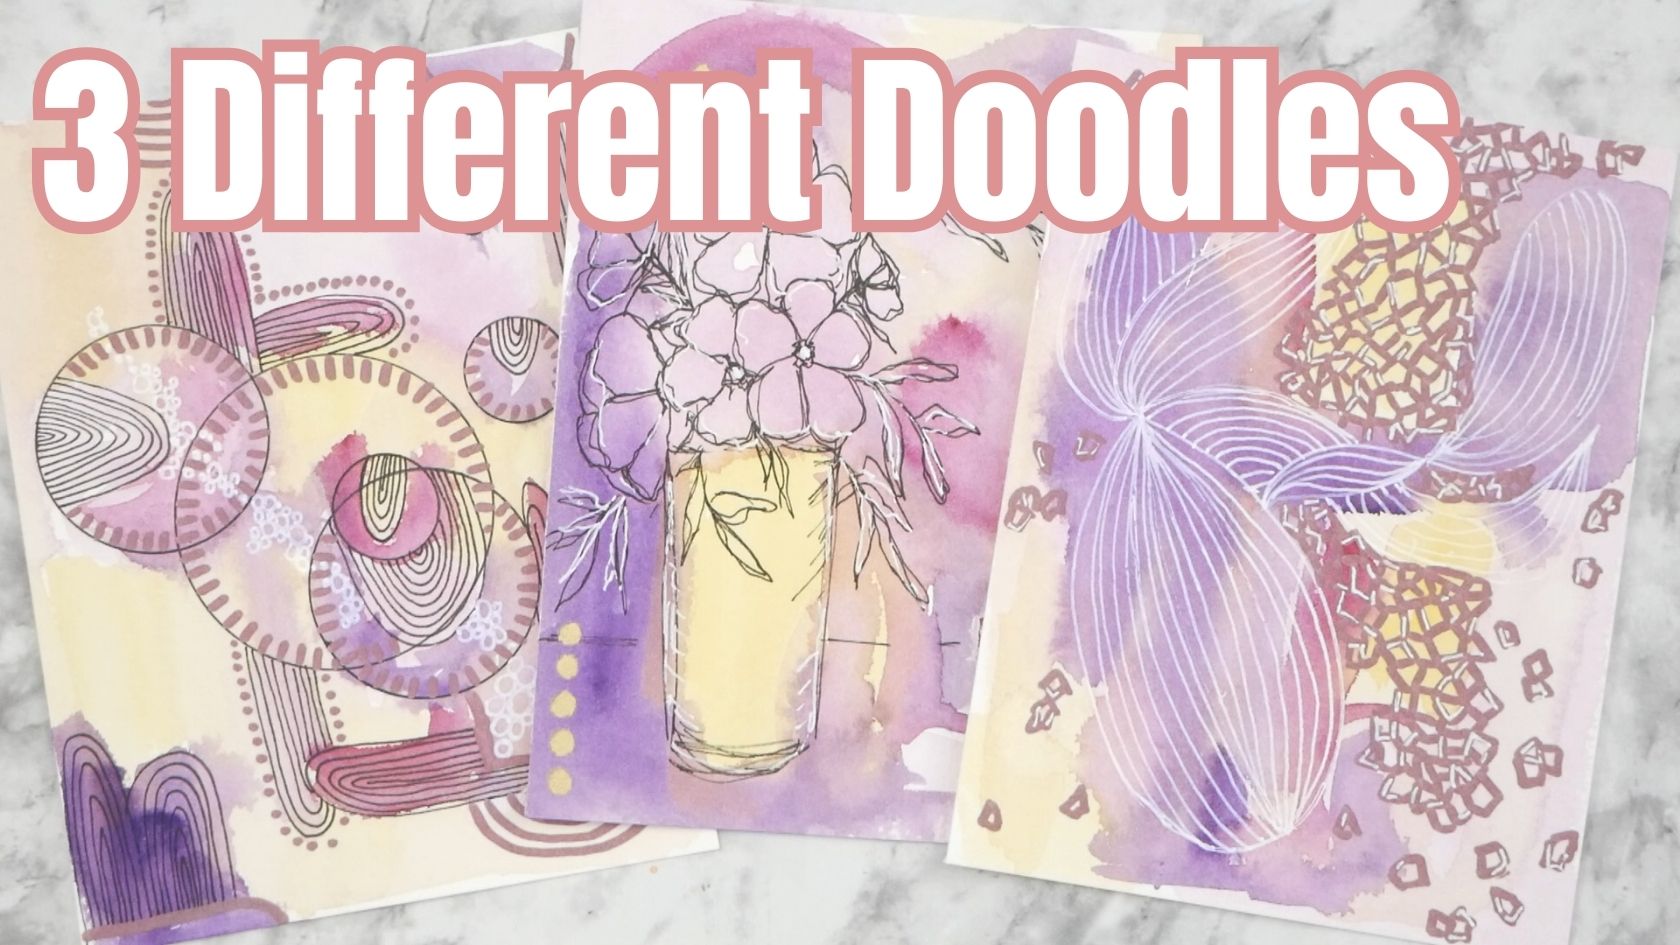
- First, I traced some natural-looking circles using a stencil, kind of like the shapes that showed up in the watercolor.
- Then, I made loopy shapes inside the circles, almost like little rainbows. I wasn’t too worried about making perfect lines, just relaxed and enjoyed the process.
- Next, I tackled the outside of the circles with similar loopy marks, letting them blend and go in different directions. It was kind of like reverse coloring, which is a fun way to loosen up and get comfortable making marks without worrying about what it looks like in the end. There’s no pressure on composition or anything!
- I grabbed a metallic marker that I got at the Dollar Tree (not very metallic, by the way!). It writes really well though, and it’s opaque with a lot of ink. I started making notches on the outside of the circles, and they ended up reminding me of gears or clocks. I added some more loopy marks around the outside of the circles to tie everything together.
- To add some more detail, I dotted around the rainbow shapes and used my white Uniball pen to make little circular marks. I started them in the bottom right corner and grouped them together, traveling up the middle and out the left side. I tried to vary the sizes a bit, but kept them all close together.
Once I finished this piece, I moved on to the second one:
- For the second doodle, I jumped right in with the white Uniball pen, making some flowy, abstract shapes. It actually ended up reminding me of a fish! I stuck with the same pen and the Crafter’s Square marker for this one, using them to follow the shapes and create flowy lines. I really liked the texture it created, and I want to play around with that more in the future.
- There are some areas where the pen didn’t want to write on the watercolor, but I just went over the lines again and it wasn’t a big deal.
- To add some interest, I broke up the pattern a little bit by adding some shapes that looked like they might have flown off or were spread out. This is the beauty of doodling – you can always make adjustments if you’re not quite happy with the direction it’s going in.
For the last doodle:
- I think this is where I finally loosened up the most. I looked at the yellow box in the watercolor and thought, “Hey, I can turn that into something!” I’ve been enjoying adding pops of gold in my watercolors, so I decided to turn the box into a flower vase. It’s not realistic by any means, but I really loved how this one turned out. I sketched some sketchy florals and filled the vase with them. I can’t even tell you what kind of flowers they are, but that’s the beauty of doodles! I was really messy with my lines, but I actually liked how loose it felt. This is definitely something I’ll be doing more of in the future.
- I finished it off with some white highlights from my Uniball pen, adding them to random areas for more texture, especially where the marker went over the darker watercolor background.
I hope you enjoyed this doodling session with me! Until next time, keep creating!