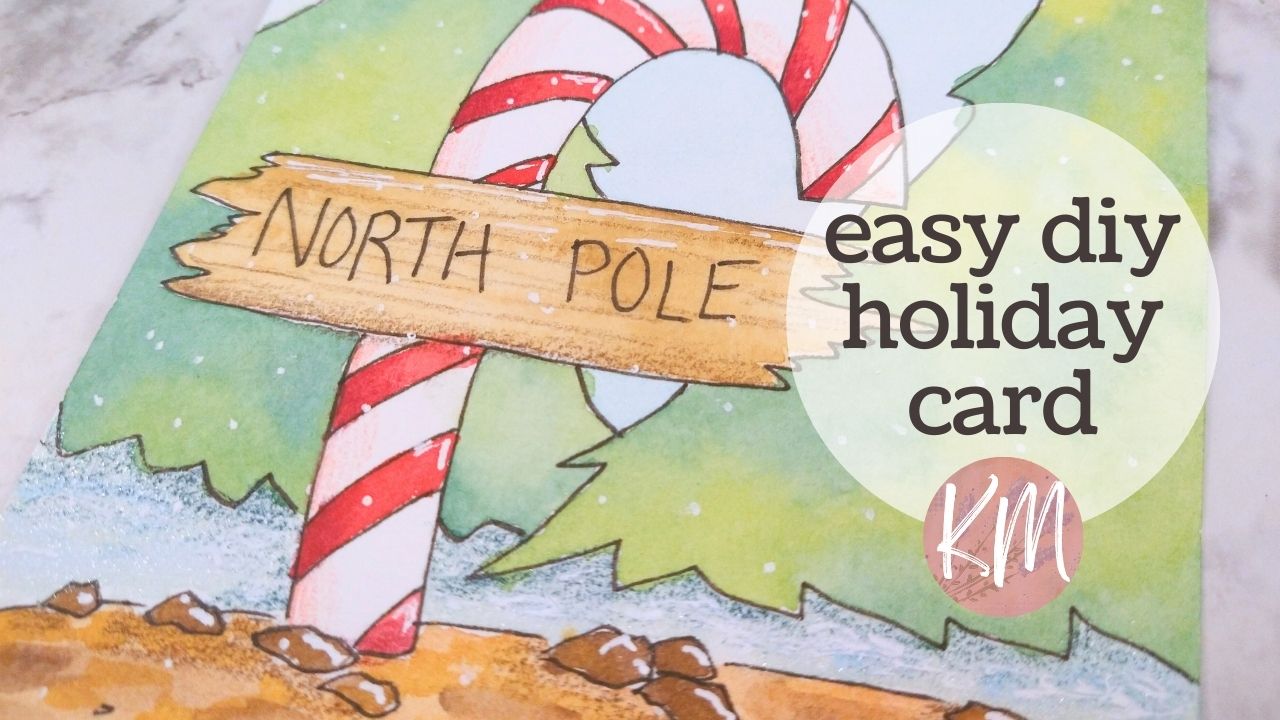
Hey everyone, it’s Kate! Today, I’m going to show you a quick and easy way to create a cute Christmas watercolor painting that you can use for a greeting card or any other holiday decoration.
First, I’m going to do a light pencil sketch. Then, I’ll go over it with a fine-liner pen to make sure the lines are waterproof before adding watercolor.
I was thinking of a cute little North Pole sign on a candy cane, so I’ll start sketching that out. I want it to look a little uneven and weathered, like an old wooden sign.
Next, I’ll add some rocks and a path leading up to the sign. Then, behind the sign, I’ll add two big pine trees.
Once I’m happy with the sketch, I’ll go over it with a fine-liner pen. I start with the foreground elements like the rocks and path, then move on to the candy cane, sign, and finally the pine trees.
Now comes the fun part – watercolors! I want to try to work strategically, so I’ll start with the sky using a sparkly deep green metallic paint. I wet the paper slightly first and then drop in the color, being careful around the edges of my pencil sketch.
For the path, I’ll use a light brown watercolor, going around the rocks a bit. Then, I’ll add a darker brown for more definition.
While my sky paint is still wet, I’ll move on to the trees. I’ll mix a light and dark green to create some variation. It’s okay not to be too precise here – a little loose and sketchy adds to the charm.
Next, I’ll grab a smaller brush and add some details to the rocks with a burnt sienna brown.
Now that the sky is dry, I can move on to the trees. I’ll use the same two greens I mixed before, working quickly while the paint is wet to create nice blending.
For the candy cane stripes, I’ll use a deep magenta and a smaller brush. I dab off any excess paint on a paper towel to avoid bleeding.
Since red tends to spread easily, I’ll move on to the ground next. I’m thinking of a shimmery, light blue mixed with a silver metallic paint to create a snowy effect.
The last thing left is the sign, but I’ll let the red stripes dry first. In the meantime, I’ll add some more color to the rocks and path with a yellow ochre.
For the sign itself, I’ll mix the leftover red paint with some water to create a wash. I want a smooth and even layer of color.
Once everything is dry, I’ll add some finishing touches with colored pencils. I’ll use a dark red to create shadows on the sign and candy cane, and a dark brown for wood grain texture on the sign. I’ll also add some shadows under the trees with a dark green pencil.
That’s it! This is an easy way to create a festive Christmas card. You can customize it with your own colors and details, and don’t worry about being perfect – imperfections add character!

