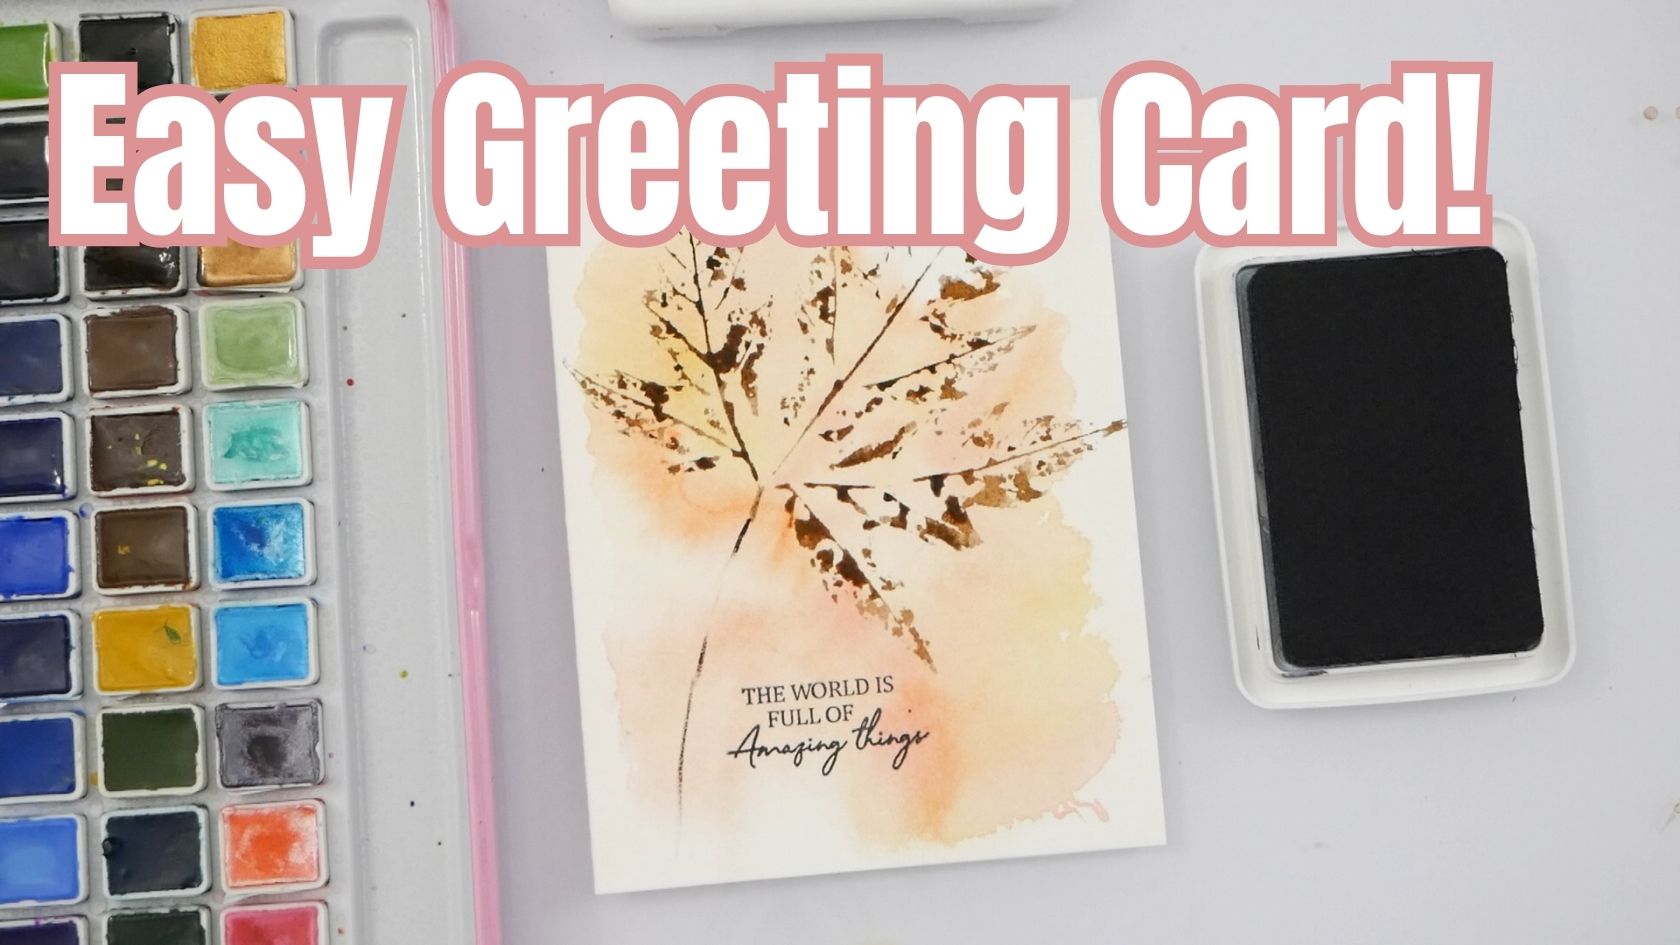
Hey everyone! It’s Kate here, and today I’m bringing you a quick and easy watercolor greeting card idea. Fall is just around the corner, and the leaves on the trees outside my window are already starting to change color. So, I grabbed a couple of leaves and thought it would be fun to use them as stamps to create some fall-themed cards. You can use this design for thank you notes, birthday cards, or any sentiment you like!
This is a super quick and relaxed project, and it’s also a great way to play around with my new MeiLiang watercolor palette set. Hopefully you’ll join me in making this card today!
First, I’m going to create a loose, abstract background wash. I’m using a big round brush and some fall colors – yellow ochre, orange, and brown – but I’m keeping it light because I plan on stamping a dark brown leaf on top.
Next, I sprayed my watercolor paper and the card itself with some water (by the way, this is a six by nine inch piece of watercolor paper, folded in half). You can also conserve your expensive watercolor paper by using cardstock for the base of your card, and just cut out your watercolor painting to attach to it.
I wet my paints and spritzed the card again to help the colors move around. I don’t have the card secured to anything, so I’m just letting the paint flow loosely. The paper is buckling a bit, but that’s okay since most of the paint is concentrated in the center and I can flatten the paper after it dries.
Yellow ochre is one of my favorite colors in this palette, and it’s super pigmented. So, I dabbed it here and there to create a cloudy wash, leaving some white space showing through. I also softened the edges by going in with clean water and a blotting paper towel.
Next, I wanted to add a touch of warmth with some orange. I used a swatch from the palette to pick up a light amount of color, and then spritzed the paper again before applying it. I let the orange blend and spread organically.
After the orange, I brought in some pops of red to create a wispy effect, making sure to leave some white space for contrast. Once I was happy with the background colors, I let it dry completely.
Now, for the leaf stamping! I grabbed a leaf and flipped it over to the back, where the veiny ridges are more prominent. This is the side I’ll be painting with watercolor paint. I wanted the paint to be wet enough to transfer the leaf image, but not so wet that it would leave a puddle on the card. I went with a brown color, Van Dyke’s Brown, to match the fall theme.
I quickly painted the backside of the leaf, making sure to get all the crevices. It doesn’t have to be perfect because I’ll be pressing it down onto the card.
With a spare piece of paper handy, I moved my palette aside and got my card ready. I gently placed the leaf where I wanted it on the card, then pressed another piece of paper on top and rubbed firmly to transfer the leaf impression.
After lifting the top paper, I carefully peeled the leaf away to reveal the stamped image! The stem wasn’t captured in the imprint, so I used a fine brush and a touch of brown paint to add a delicate stem detail.
I love how the leaf stamp turned out – it has great detail but also a cool, grungy vibe that I really like. There’s also plenty of space left for the sentiment.
To finish the card, I grabbed a black ink pad and a stamp that says “The world is full of amazing things.” I lined up the stamp carefully and stamped it onto the card.
And there you have it – a quick and easy, yet beautiful, fall-themed greeting card! Thanks for joining me today! I hope you enjoyed this project, and until next time, keep creating!

