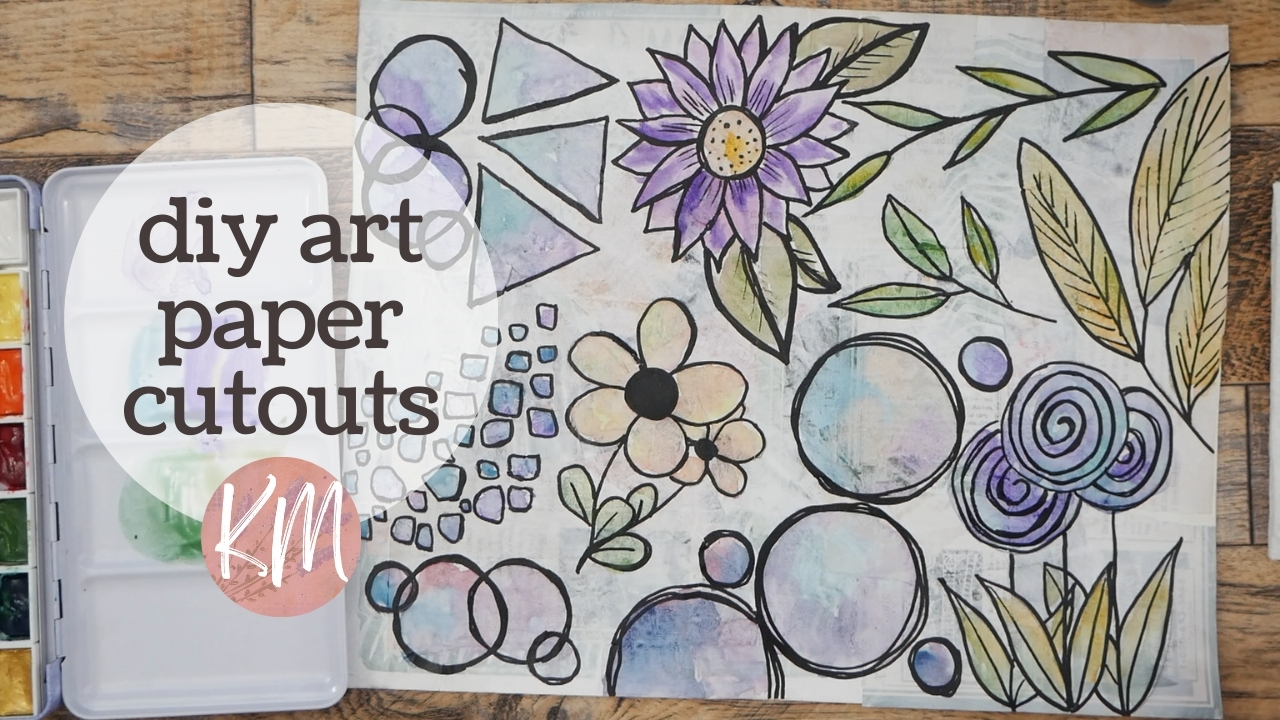
Hey everyone, it’s Kate, and I hope you’re all having an amazing day. Today, I wanted to share something special with you all by making some focal points for art journaling. I thought it would be cool to start building a collection of things that I paint and make myself. I’ve dabbled in making collage papers before, but I haven’t really explored illustrations for focal points, so this is going to be a fun experiment. Plus, once I’m done, I’ll be using these in my own projects and making them available for free download on my website. Whether you’re into personal or commercial art, these illustrations will be up for grabs.
To get started, I laid down a lunch tray to protect my tabletop and gathered an 11 by 14 sheet of mixed media paper. I covered the sheet with a random collage using matte medium, magazine pages, and scrap paper, creating an interesting base for our artwork. After letting it dry, I applied a layer of gesso to provide a good surface for drawing and painting.
Using a regular pencil, I sketched out various shapes like flowers, leaves, circles, and abstract patterns. Then, I traced over the pencil marks with a fine tip painter’s marker to define the shapes. With my watercolor palette, I added washes of color to the illustrations, blending and layering different shades to create depth and texture.
The beauty of working on a gessoed surface is the way watercolor interacts with it, giving a unique cloudy look. The colors blend beautifully, allowing for experimentation. I didn’t worry too much about staying within the lines, as I planned to cut out the illustrations later.
Once everything dried, I cut out the illustrations, wasting very little of the paper. Now, I have a bunch of fun elements ready to use in collage, art journals, or any other creative projects! I left some pieces with extra borders for flexibility in use, and the colors all complement each other, making it easy to mix and match.
I’m excited to share these illustrations with you all, so I’ll be offering them as a free download on my website. You can print them out, cut them, and use them however you like in your own artwork.
Thanks for joining me on this creative journey, and remember to keep creating and exploring new ideas. Have a fantastic day, everyone, and until next time, keep those creative juices flowing!

