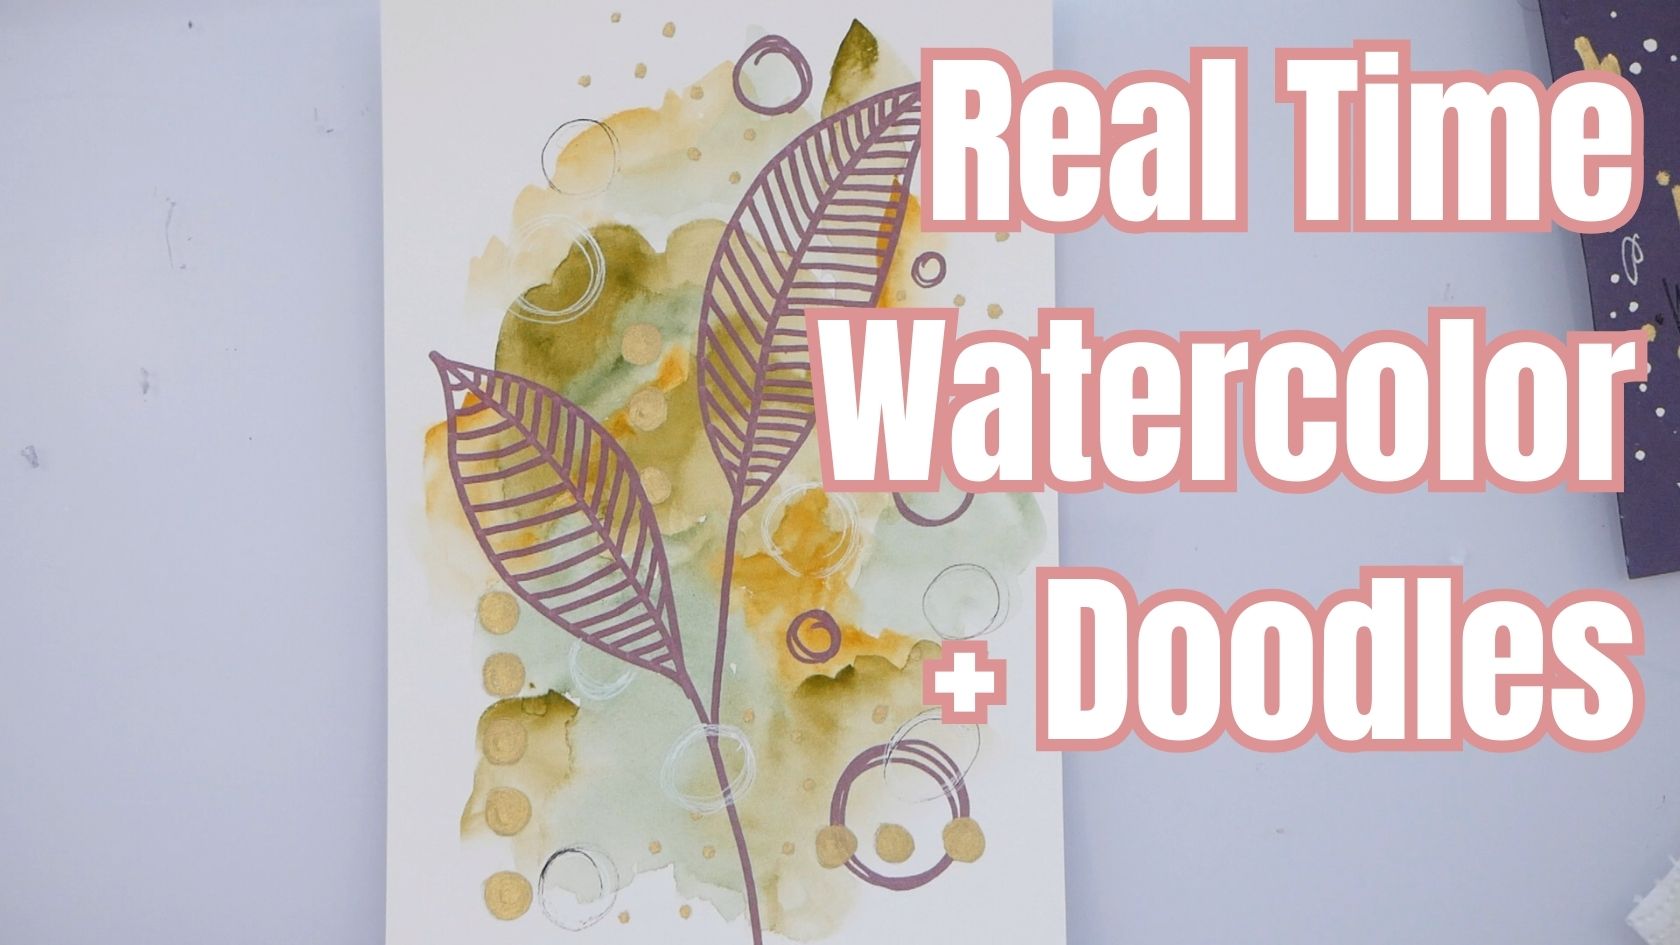
Alright, let’s get splashing with some watercolors today! I grabbed my trusty cat’s tongue brush, which is my favorite for these loose washes, and picked out a color palette – olive green, grass green, and yellow ochre from my MozArt Komorebi watercolors.
First things first, I misted my watercolor paper with some clean water to get it nice and damp. This helps the paints flow and blend more easily. Then, I dove right in with the olive green. It’s such a rich, earthy color, and it feels amazing to work with. I added some water here and there to keep things loose and bloomed the color around the page.
Next up was the grass green, another beautiful color. I dropped some puddles here and there, letting it mingle with the olive green. There were a few happy accidents where a little too much water pooled, but that’s all part of the fun with watercolors! I dabbed my brush to soak up some of the excess so it wouldn’t get too muddy.
Yellow ocher came in next, adding some sunshine-y pops of color. With a damp brush, I gently moved the colors around the page, letting them blend naturally. I wanted to keep it loose and avoid overworking it.
After letting the first layer dry a bit, I decided to revisit some areas. I went back in with the grass green, adding a touch of water to my brush to create soft washes. I also brought some more olive green down into the mix to add depth.
I really liked the little pops of yellow ocher, so I sprinkled some more in throughout the painting. Then, I called it a day for this layer and let it dry completely.
While flipping through some of my recent artwork, I came across a background piece I made with some cool marks. I thought it would be perfect to incorporate into this piece! So, I used it as inspiration to add some leaves and splatters to my watercolor wash.
Starting at the top, I dragged my marker down the page, creating the stem of the first leaf. I purposely went a little outside the paint area – I don’t want to feel confined by the boundaries! Then, I connected the line back down to the base, forming the beginning of the leaf shape.
I repeated the process for the other leaf, making it the focal point of the painting. I wanted to add some more playful marks and textures, so I grabbed a set of metallic markers I recently snagged for a steal. These markers aren’t water-resistant, but they can create cool effects when used with watercolor. I started doodling some loose circles in various sizes, letting a few go off the edge of the page for a more dynamic feel.
Next, I switched back to the gold metallic marker and added some solid circles for contrast. I played with placement, putting some behind the leaf and letting others peek through. I even added a few dots that trailed off the page, creating a sense of movement. To balance things out, I mirrored the effect on the bottom of the painting.
Just for a touch more detail, I went back in with a black fine-liner pen and added a few small circles in random spots. It wasn’t the smoothest application, but that’s the beauty of art – it doesn’t have to be perfect!
And there you have it! A fun and abstract watercolor painting with some playful doodles. I hope you enjoyed this process video as much as I did creating it. Until next time, keep creating!

