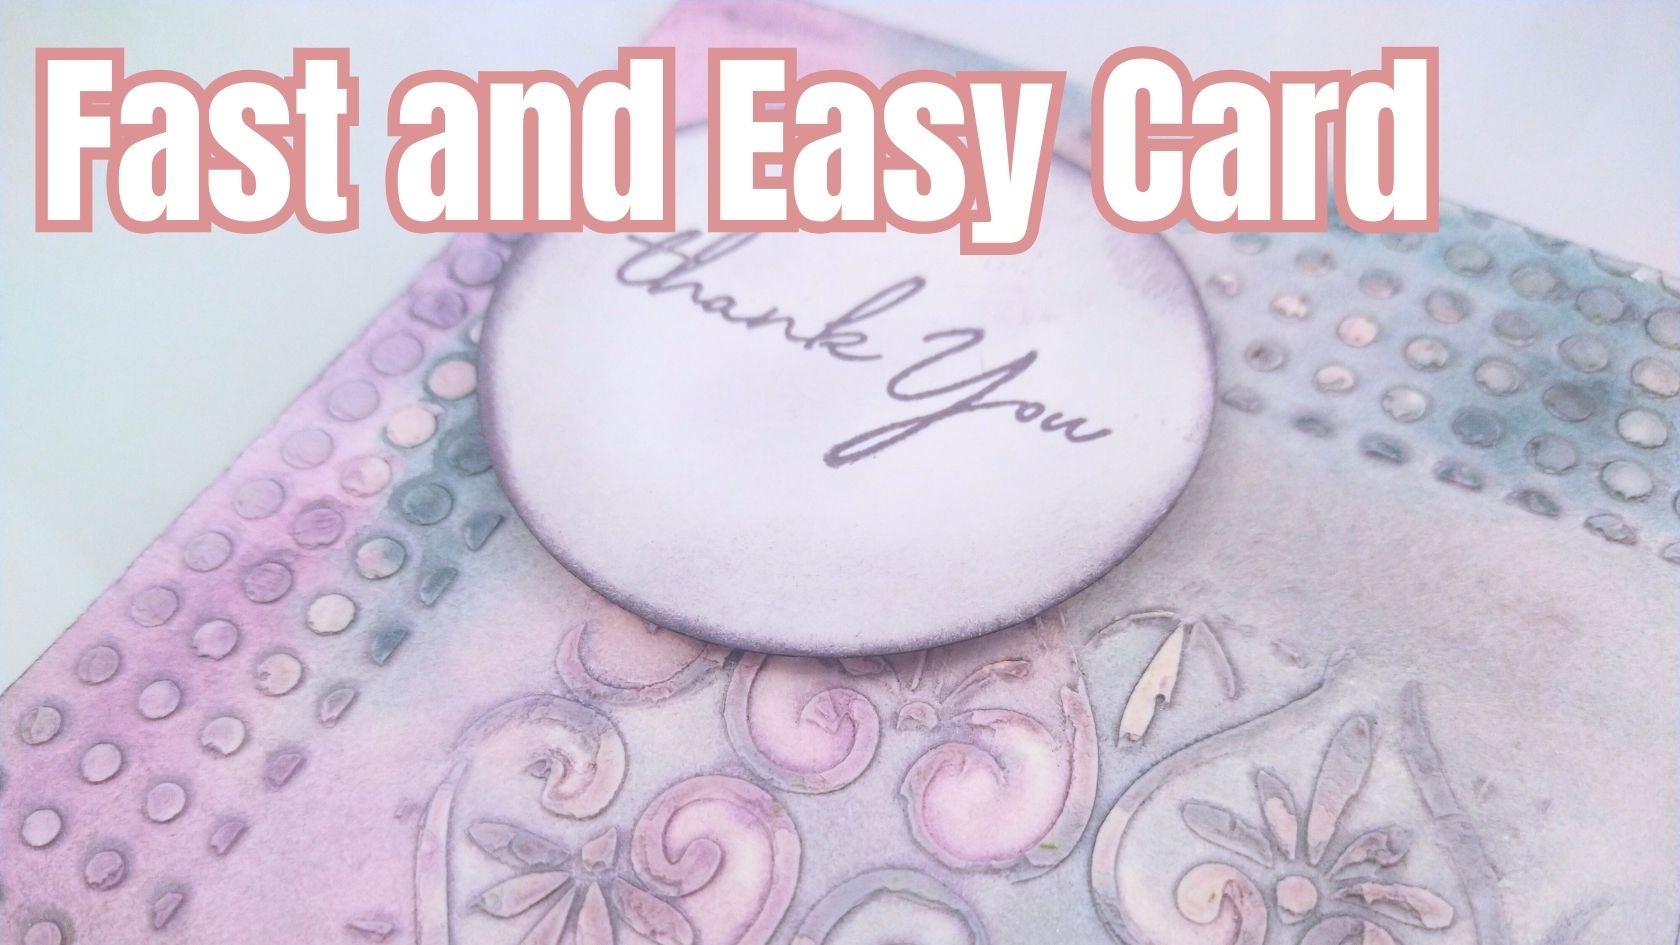
Hey there! It’s Kate, and I’ve got a fun project to share with you. I decided to make a quick watercolor greeting card. I chose to make a thank you card, but you can choose any sentiment, stamp, or stencil that you like. This is a super quick project that anyone can do.
First, I grabbed some modeling paste and a couple of my favorite stencils. I’m using a single layer of watercolor paper for this card, but you can use a folded card or even attach a single layer to another piece of cardstock if you prefer.
Next, I brought out my DeDeDe Praise watercolors that I got from my Temu haul. I’m doing a mix of purple and turquoise, although the colors are just numbered, not named. If you have the same palette, I’m using 11, 12, and 20.
I started by getting the paper nice and wet and letting the water flow through the wonderful texture from the modeling paste. I made sure to cover the whole card and let it get that nice marbling effect. I also sprayed it a bit to get enough of the edges. I really love how the hearts and dots from the stencils look with the watercolor.
Aside from the drying time, this is a really fast and fun card to make. If you wanted to make a bunch of these for a group of friends or family, you could easily do one after another, let them dry, and then do your next layer.
Once the card was dry, I went back in with my hole punch and some regular card stock. I used a new purple color of stamp that I just got (I’ll have to add it to the description below). I went around the edges with the tool, grabbed a stamp, and put “thank you” in the circle. Then, I attached it with some adhesive squares from Dollar Tree.
I hope you enjoyed this project as much as I did. Until next time, keep creating!

