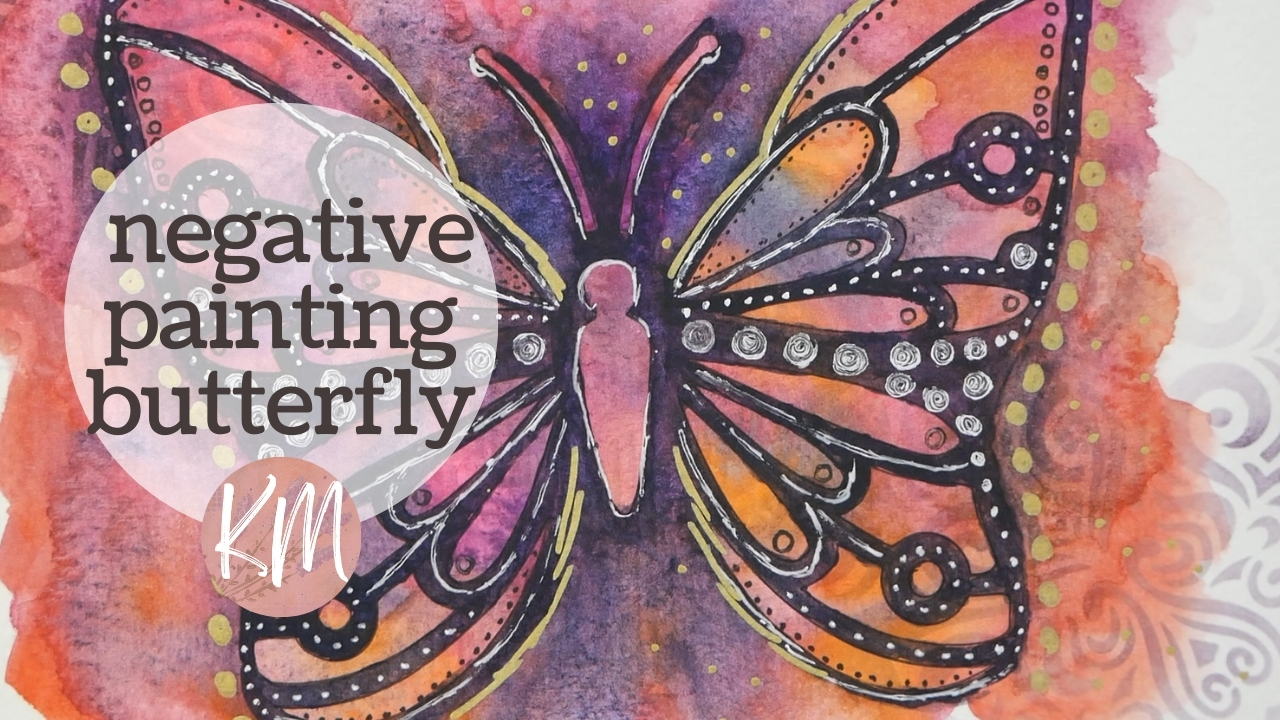
Hey guys, it’s Kate! In this video, I’m having some fun with negative watercolor painting using my awesome MozArt Komorebi palette. I’m working today on cellulose paper from Artist’s Loft! I have been having a lot of fun lately switching back and forth from cellulose to my normal cotton paper, and it’s always great to experiment. I know some of you use cellulose and some use cotton, so it’s fun to play with both and see what kinds of effects we can get!
So, negative painting is all about creating interesting pieces by filling in the background around shapes and letting your subject develop by painting around it. Pretty neat, right?
To get started, I made a big blob of all sorts of colors on my paper. Let that dry completely, then I took out this butterfly stencil and used some washi tape to hold it in place. With a fine liner pen, I carefully traced the butterfly, making sure the lines were nice and crisp. This will be the tracing for my negative painting.
For a little extra texture, I decided to add some purple stencil patterns with my blender tool. After that dried completely, it was time for the negative painting itself! I went with a nice dark Payne’s grey this time, and used my round brush to fill in all the areas in between the butterfly stencil lines.
Another drying break, and then I wet the area around the butterfly with some water, and then with a quill brush, I added some more blooms of Payne’s grey to create a ‘shadow’ behind the butterfly. This softens everything up a bit and makes the whole thing look more dimensional.
Now to turn those shapes into a more detailed butterfly! I used a super fine black pen to add all the details and for the final touch, I brought in some gold Posca pen for some sparkly dots and highlights. These little gold accents just make everything pop, don’t you think?
While we’re making this beauty, I wanted to share a couple of tips with you all. Taking the time to let each layer dry completely is important. This helps keep your lines clean and prevents the colors from bleeding together. Remember, negative painting is a versatile technique – you can play around with different colors, stencils, and details to create something totally unique!
This negative painting tutorial hopefully gave you a good idea of how this technique works. I love how easy it is to follow these steps and create a beautiful watercolor piece. Whether you’re a pro or just starting out, this is a great way to experiment and have some fun with watercolors. So grab your paints, your brushes, and get creative! Let’s see what amazing things you can come up with. Happy painting!

