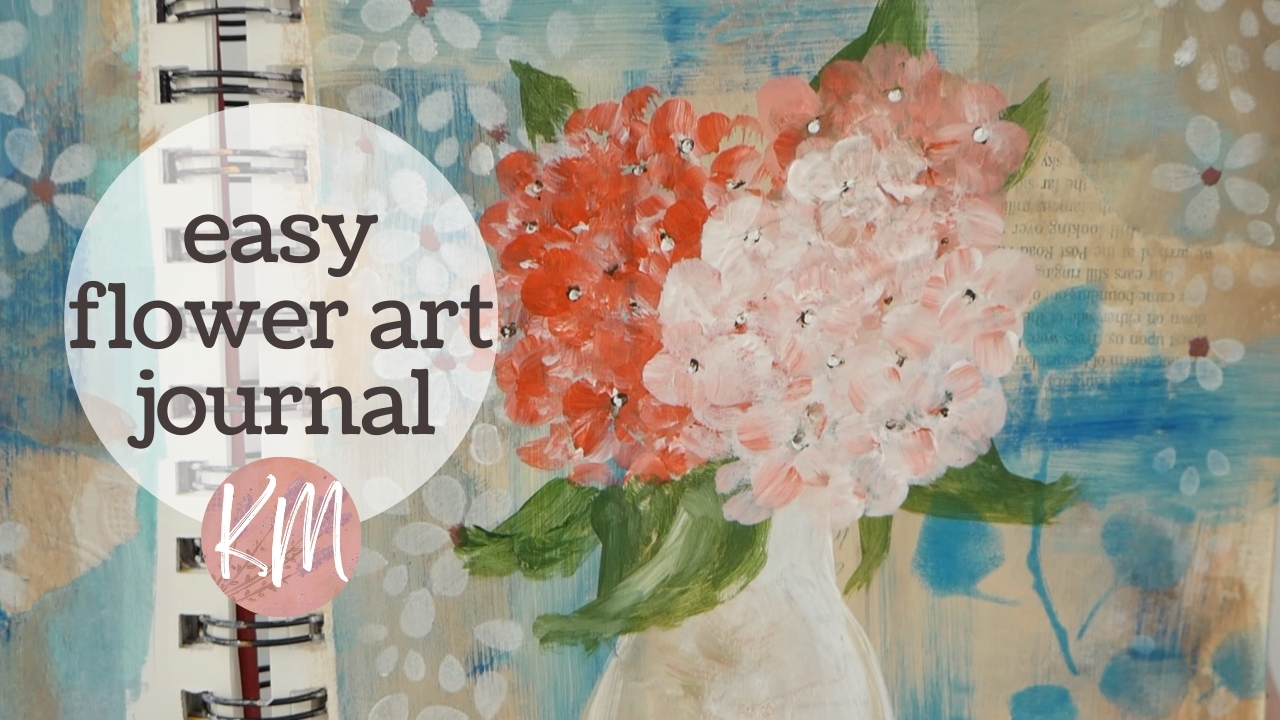
Hello fellow creatives! Today, I’m so excited to take you on a journey through creating some lovely and easy hydrangeas in your art journal. If you’re into florals, this will really help loosen you up to paint some easy flower arrangements.
My art journal pages are pre-painted, but this is just a personal preference. I work in a sketch book and while the pages aren’t too thin, they certainly aren’t too thick either. The thin coat of craft paint that I add to pages helps to make the page more sturdy.
Now comes the first fun part – gathering our collage papers! I’m going on a treasure hunt through this giant box of paper scraps. Magazine clippings, paper remnants, even old torn scraps – anything that catches your eye can become part of the artwork. The beauty of this technique is that there are no rules. Let the colors and textures speak to you! As you tear these pieces, keep in mind that we’ll do a covering of gesso in the next step, so don’t worry too much about choosing the “wrong” color of paper. This layer is all about the texture.
Once you have a collection of artistic scraps, it’s time to play! Don’t be afraid to overlap pieces and create depth. When you find a composition that speaks to you, adhere the paper scraps using any adhesive you like. I’m using matte medium here.
Now, to seal the deal, we’ll use some gesso. Spreading a thin layer of gesso over everything does a few cool things. First, it helps secure the collage elements, making sure they stay put. Second, it creates a more unified background, softening the contrast between the paper scraps. Here’s a neat trick – I like to use a baby wipe to apply the gesso. It’s gentle and helps spread the gesso evenly with a soft look. It’s also great for blotting away excess.
With our collage secure, let’s add some depth and texture. I’m bringing out some browns to introduce a touch of earthy warmth. I’m mixing different shades of brown to create variations. The goal here is to create an interesting vintage style background that complements the florals we’ll be painting next.
Now that the background has some texture, let’s re-introduce some contrast with some white stenciled flowers. I have this beautiful floral pattern stencil picked out, and I’m dipping my makeup sponge in some white paint. With a light touch, I’m dabbing into the stencil, creating these lovely white flower shapes peeking through the background. Don’t be afraid to play with stencil placement and even use different stencils for a more diverse pattern.
Next, let’s bring in that beautiful turquoise! I’m grabbing my new tube and diving in with another stencil, this time leaves. I’m in love with this color.
Finally, the floral bouquet! I’m using white paint to sketch the outline of a vase that will hold our hydrangeas. Remember, this is just a sketch, so don’t worry about perfection. Once you’re happy with the shape, fill it in with paint and add some shading to give it more dimension.
Okay, I was going to go with blue hydrangeas, but since we already have a lot of blue going on and it’s the focal point, I’m going to switch gears and use red paint to create some pink hydrangeas.
Here’s the trick – a hydrangea flower has four petals, and you can easily make them with a filbert brush. Just dab your brush a few times to create those petals – paint some flowers facing forward, and some peeking out from behind. When working on a bouquet, you want a mix of full blooms and scattered petals.
To add some color variation, I like to mix the paint directly on the journal page instead of fully mixing it on the plate. This gives the flower petals a more interesting look. So, I’m grabbing some white and red paint and double loading my brush. I’m going to paint the hydrangeas, overlapping some flowers and leaves for a natural look. Don’t worry about mistakes – you can always let them dry and paint over them with acrylics.
I’m going with three flower clusters. I’ll make sure to get a good mix of rounded shapes and fill in some empty spaces. Remember, the beauty of acrylics is that you can easily fix anything!
After finishing my first bunch and before I paint the front flowers, I want to add some leaves to create a nice base for them to lay on. I’m using sap green with a touch of red to create a more muted tone. Hydrangea leaves are large and pointy, so I’ll paint a couple coming out from behind.
While the leaves dry, I’m going to add some white highlights to the flowers for more depth. Then, I’ll go back in with the red paint to create some more blooms with color variations.
Then I dive in with my other two bunches, varying my pink/white ratio to create some color variation. Finally, let’s add some flower centers for contrast. I’m mixing some red and green to create a brown color, and I’ll use a stylus to add small dots to the flower centers. You don’t need to overdo it – a few hints of texture are enough.
I think that’s it! Except, maybe we can add a couple more pink and red flowers over to the left page for balance. See how easy it is to create these with a few dabs of the brush? Let’s add some centers to these new flowers as well.
Alright, that’s our floral bouquet complete! Let’s take a closer look. I really love how this turned out, and I hope you enjoyed creating this with me. Thank you so much for watching and spending time with me today. Happy creating!

