
Reference Photo: https://unsplash.com/photos/sun-set-over-the-horizon-M84bYZnCMQg
Hey there, it’s Kate! So, I just finished up this watercolor landscape, and let me tell you, it was a journey. I started off with this New York Central cotton paper, a 5×7, and my MeiLiang watercolor palette and quill brush.
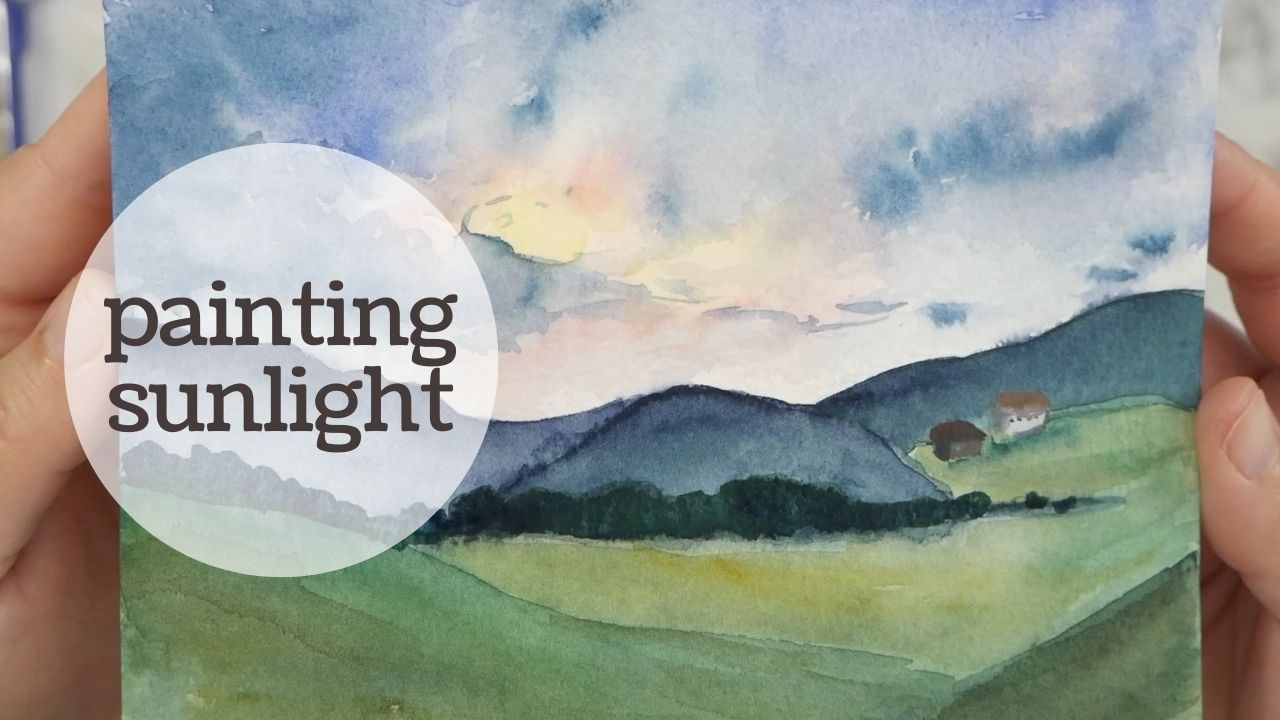
Anyway, I kicked things off with a light pencil sketch to map out where the hills and skyline go. I wanted to keep things neat when wetting the paper for the sky, so I knew where to end my water line. The golden light color was most important to get down and build on, so that was the focus for the first layer. And let me tell you, it’s a challenge to practice skies without overworking the watercolor. It’s something I continually work on. I keep saying to myself, “Watercolor is SUPPOSED to be fluid, Kate, geez. Stop trying to smooth everything out all the time.” But, I just won’t listen.
Moving on to the landscape, started with the closest hills first to give the sky a chance to dry, adding in some yellows and browns with a touch of Payne’s Grey to cool things down. Remember, cooler colors for the far-off stuff and shadows, and the Payne’s is magic for this. And yeah, I had to let things dry between coats to avoid bleeding, but impatience got the best of me a couple of times. Oops.
Now, onto those clouds. Dark silhouettes against the sunset? Love ’em. I went freehand with some wispy edges and added extra dark colors for those shadowy spots. Had a little oopsie, but quick fix with a paper towel. Pro tip: blot it up fast.
And let’s talk about the little house and barn. Kept going back and forth on whether to include them, ended up scrubbing a space out for them, then painting over it, then painting them in later. Creativity is a process. A processss.
Time for some final touches. Pumped up the contrast with darker mountains against the sky, added more red and yellow for that pop in the sky, and warmed up the grass some more up front.
Oh, and pro tip: if you’re back and forth like I was with the outbuildings, use white gouache for those opaque touches. Great for fixing mistakes or adding highlights. If you don’t have gouache, acrylic paint works too, just remember it’s permanent once it dries.
This painting was a lot of fun. Practiced my brushwork, had fun with colors, and practiced painting light. So, if you’re up for it, grab that photo reference, and let’s paint together. Thanks for watching, and until next time, keep creating!