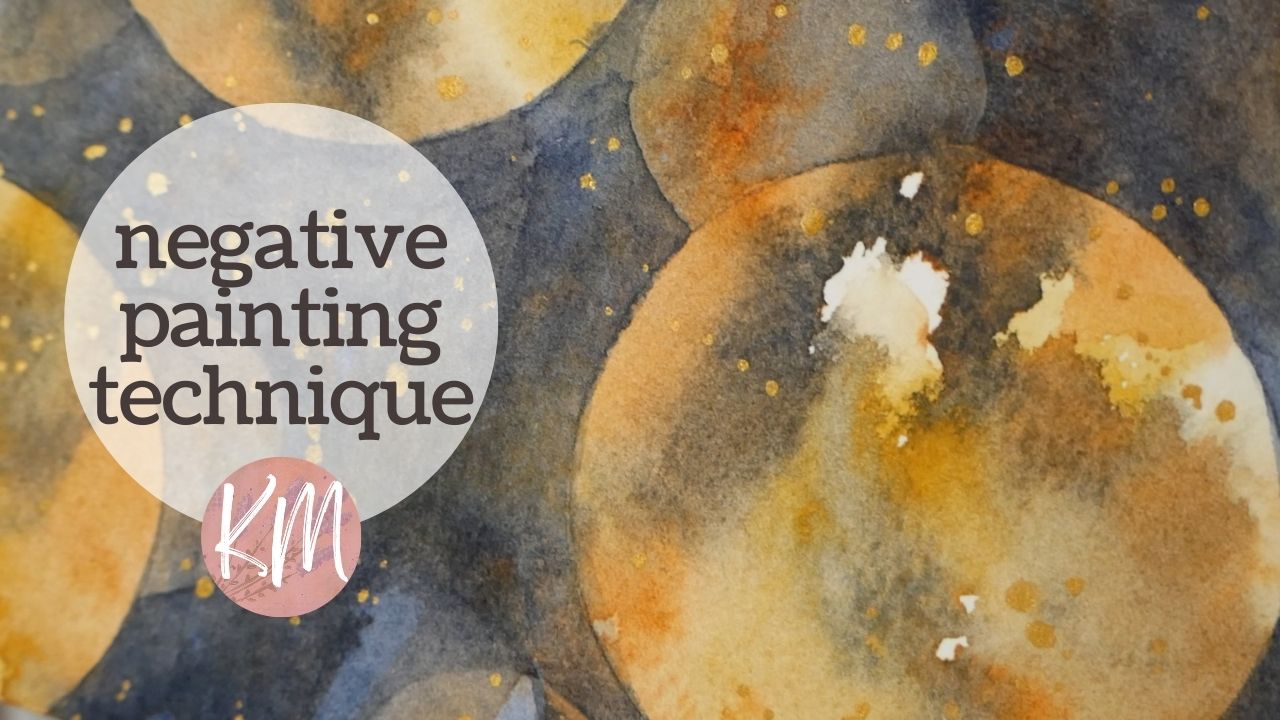
Hey everyone! It’s Kate here, back with a fun watercolor negative painting tutorial. Today, I’m playing with a limited palette on 100% cotton paper, letting the paints flow and creating some interesting textures.
I spritzed the paper to make it damp, but not soaking wet. I wanted some areas to stay a little drier for stronger watercolor marks. This creates a cool variation on the paper texture.
For this abstract background, I skipped the doodling and went straight for negative painting with shapes. Negative painting is a great technique for beginners, and it’s a lot of fun! You can create all sorts of effects depending on the shapes you use.
I used a mix of Payne’s Grey and burnt sienna for a beautiful, rich autumn color palette. I love how the transparency of watercolors allows some of the initial patterns to show through even after painting over them.
Here’s a tip: If you’re working with darker colors, you don’t have to worry too much about your pencil lines. They’ll mostly disappear under the paint.
When negative painting, try to work quickly to avoid hard lines or weird blending. I went over my brushstrokes quickly to keep everything nice and loose.
Isn’t it cool how the burnt sienna keeps popping through in some areas? It gives the painting an almost rusty feel.
For the second layer, I traced some smaller circles in interesting spots, overlapping a bit with the larger circles from before.
I went over everything with another mix of Payne’s Grey and blue, creating a richer look while allowing the textures and some of the color tints from underneath to peek through. This negative painting technique creates a beautiful effect where your brightest elements will stand out in the foreground.
Remember, anything is fixable with watercolor! I accidentally went over the line in a couple of spots, but a quick blot with a paper towel took care of it.
The placement of your shapes is entirely up to you. You can use leaves, geometric shapes, or anything you like! I’ve seen some stunning forest scene paintings done with negative painting.
I really enjoyed playing with this technique, and I love the final result with the different color values. To add a little extra sparkle, I finished it off with some touches of gold metallic paint.
I hope you enjoyed this video and will give negative painting a try. It’s a fun and easy technique that can lead to some beautiful results. Happy creating!

