Reference Photo Credit: Unsplash – Rod Long
URL: https://unsplash.com/photos/Hq_ftMNzFow
Hey everyone, it’s Kate! I’ve got a fun art session planned today, so grab your paints, brushes, and the reference photo I provided. We’re going to dive into painting together in our art journal.
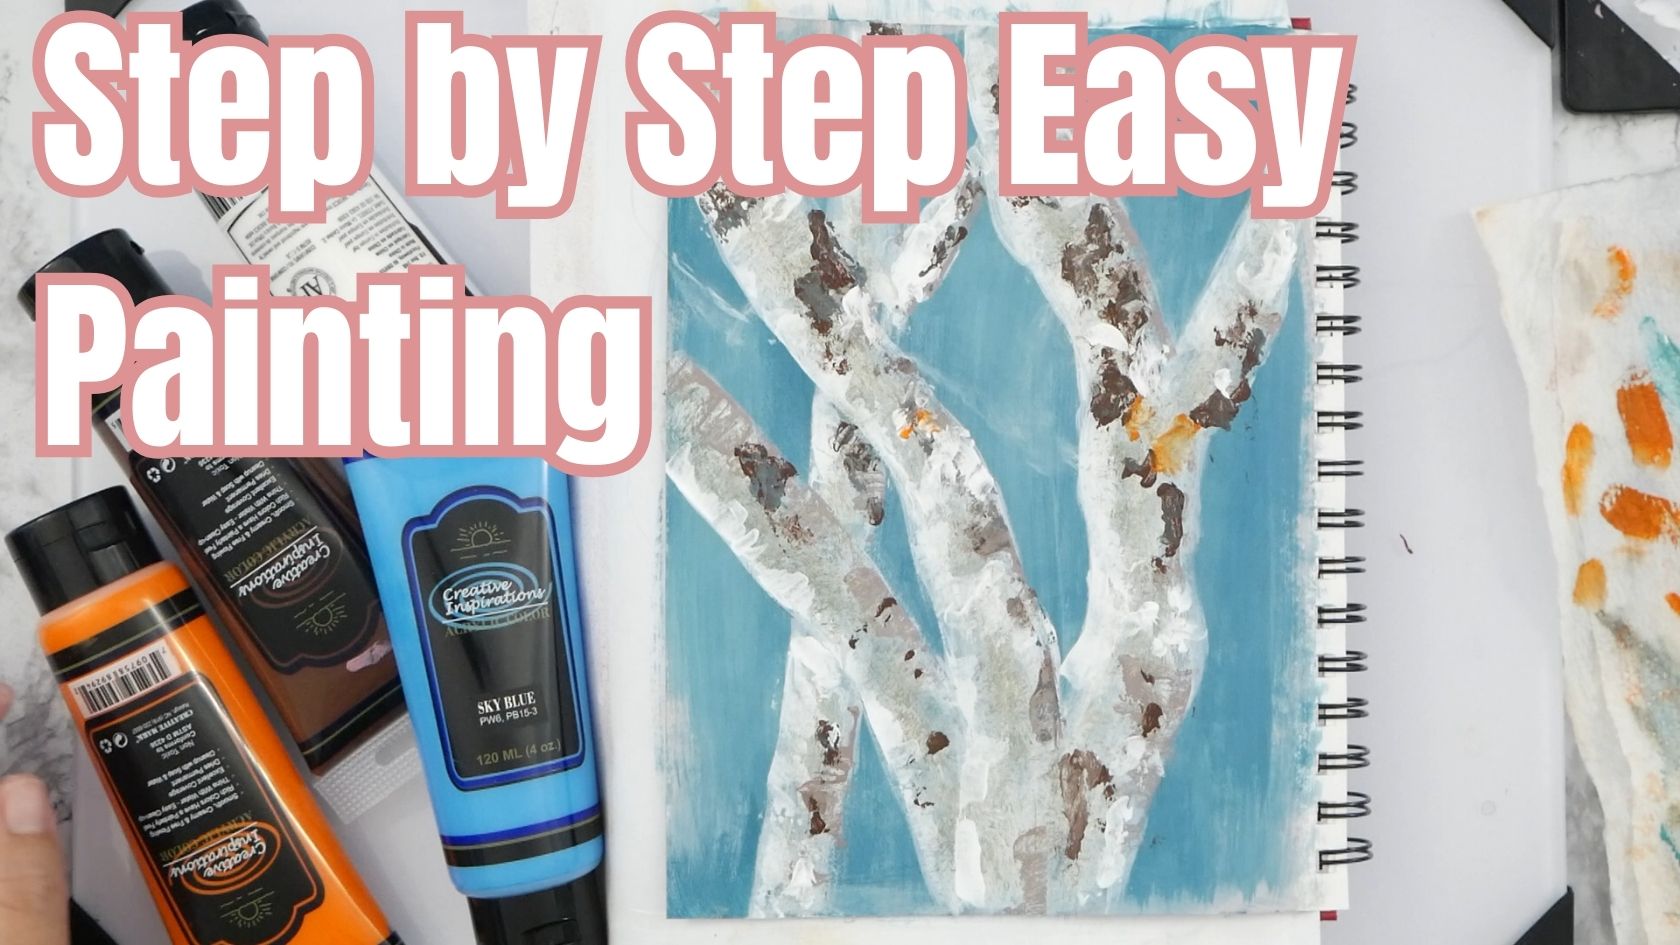
Alright, so for this project, I’m keeping it simple with a limited palette. I’m mainly using sky blue, cad orange, and titanium white. These colors work wonders together, especially since blue and orange are complementary. Mixing them can tone down each other, depending on how much you use. So, I started with the background, mixing a touch of orange with sky blue to match the photo. Using a slightly moist brush, I applied the paint, keeping it textured and leaving some of the background peeking through for depth.
I’m not aiming for photorealism here, just a representation of the photo. After blocking in the background, I lightened up the blue with white for brighter areas. Using a dry brush, I added texture and blended it in. Then, I switched to a filbert brush to outline the tree branches, starting with the main ones and blocking in their shapes.
Next up, I added some details with a palette knife, defining the edges of the branches and adding texture. I played around with the colors, mixing burnt umber with white and a touch of blue to create different tones for the branches. It’s all about layering and building up the details gradually.
After defining the branches, I went back in with highlights and shadows, using a mix of white, burnt umber, and a hint of blue to add depth and dimension. It’s all about finding the balance between light and shadow to make the branches pop.
I also added some lighter spots and textures with the palette knife, mimicking the natural patterns you’d see on tree bark. And finally, I added a few touches of orange for some extra interest and color variation.
Overall, I’m really pleased with how it turned out! It’s got a bit of an impressionistic vibe, which is exactly what I was going for. I hope you enjoyed painting along with me today. Whether you joined in or just watched, thank you for hanging out and getting creative with me. Until next time, keep creating!

